
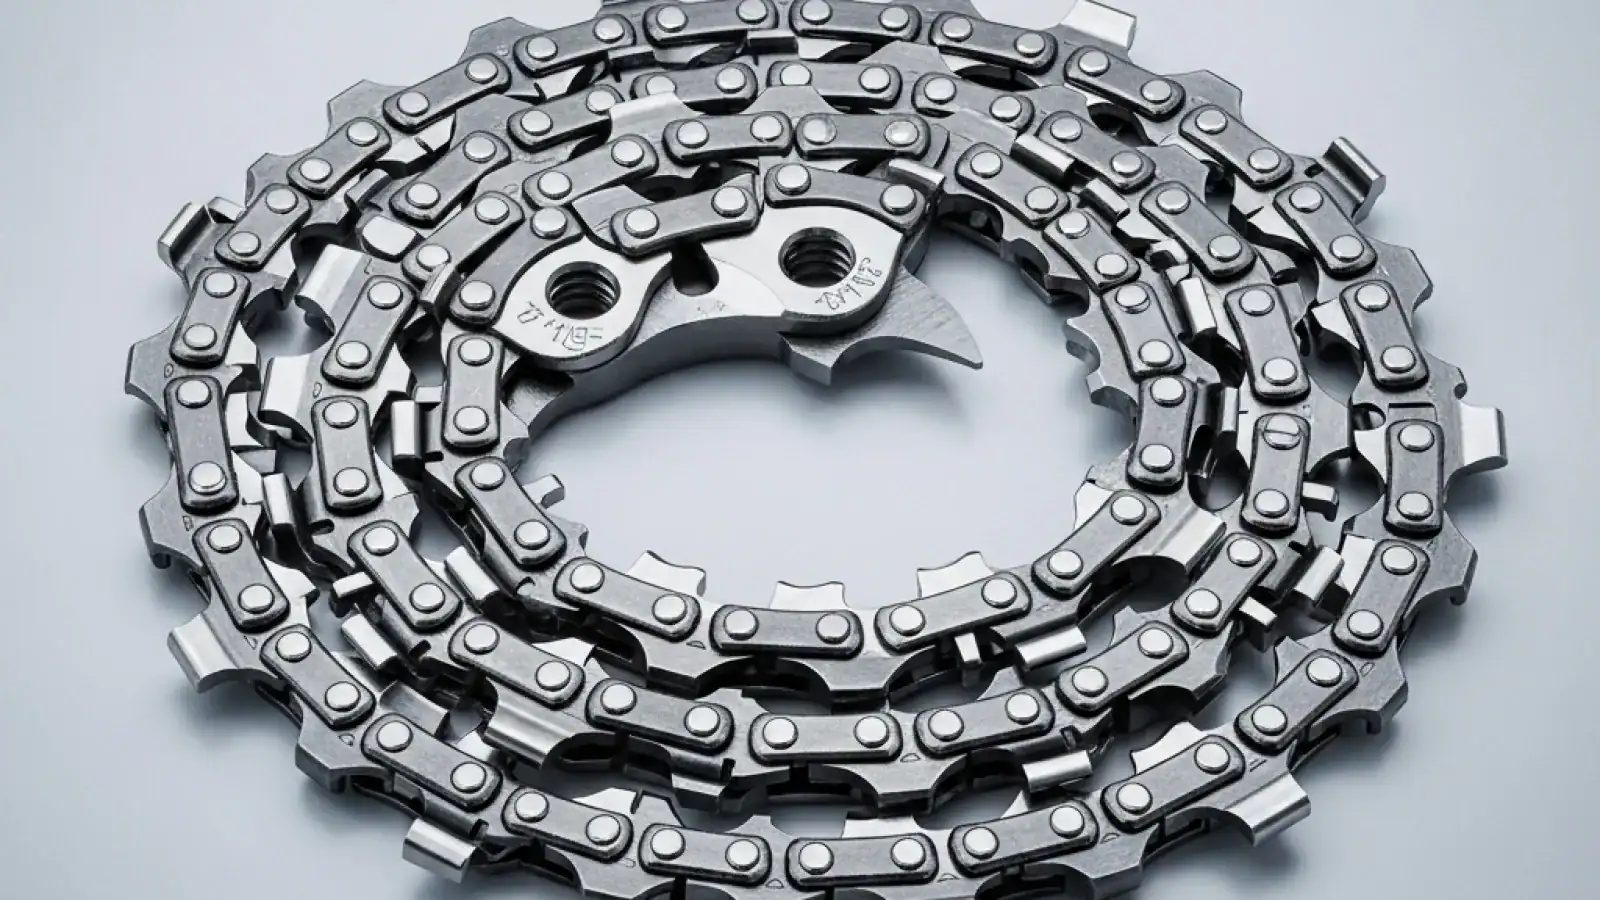

As a landowner, DIY enthusiast, or dedicated chainsaw user, you’ve likely encountered situations where a standard chainsaw just doesn’t quite cut it – especially when trying to slice a log lengthwise. While conventional chainsaw chains excel at quickly severing wood fibers across the grain, attempting to mill a log into planks with one is a frustrating, slow, and often dangerous endeavor. That’s where the specialized chainsaw ripping chain comes into play, transforming your saw into a portable sawmill.
Table Of Content
- Understanding Ripping Chains: Beyond the Standard Cut
- Anatomy of a Ripping Chain: Tooth Design and Features
- Filing Angle: The Secret to Smooth Slices
- Depth Gauge (Raker) Setting
- Full-Skip and Semi-Skip Configurations
- When and How to Use a Ripping Chain Safely and Effectively
- Ideal Applications for Ripping Chains
- Matching Your Chainsaw to the Task
- Safe and Effective Milling Techniques
- Maintenance, Sharpening, and Longevity of Your Ripping Chain
- Routine Cleaning and Lubrication
- The Art of Sharpening a Ripping Chain
- Bar Maintenance for Ripping
- Choosing the Right Ripping Chain for Your Project
- Compatibility with Your Chainsaw
- Consider Your Wood Type and Project Goals
- Chainsaw Power and Bar Length
Understanding Ripping Chains: Beyond the Standard Cut
Imagine trying to plane a piece of wood against the grain; it’s rough, splinters, and requires immense effort. Now, imagine planing with the grain – it’s smooth, efficient, and yields a beautiful finish. The same principle applies to chainsaw chains. A standard crosscut chain is designed to efficiently sever wood fibers at a 90-degree angle, making quick work of felling trees or bucking logs into manageable lengths. Its cutting teeth are typically sharpened at a steep angle, often around 25-30 degrees, allowing them to aggressively tear through wood fibers.
A ripping chain, by contrast, is engineered specifically for making long, smooth cuts parallel to the wood grain. Instead of tearing, its unique tooth design shaves the wood fibers, much like a wood plane. This specialized action results in significantly less effort during longitudinal cuts, a much smoother finish, and reduced strain on both the chainsaw and the operator. It’s a game-changer for anyone looking to transform raw logs into usable lumber, whether for crafting projects, building fences, or even constructing cabins.
I recall a frustrating afternoon trying to mill a beautiful section of oak into shelving material using a standard chain. The saw bogged down constantly, the cut was rough and wavy, and it felt like I was fighting the wood every inch of the way. Switching to a ripping chain was an absolute revelation; the saw glided through the timber, producing long, continuous shavings and leaving a remarkably smooth surface that barely needed planing. This experience profoundly taught me the value of having the right chain for the job, especially for milling.
Anatomy of a Ripping Chain: Tooth Design and Features
The magic of a ripping chain lies primarily in its unique tooth geometry. While visually similar to a standard chain, a closer inspection reveals critical differences that enable its superior performance in milling applications. Understanding these features is key to appreciating why these chains are indispensable for working with the grain.
Filing Angle: The Secret to Smooth Slices
The most distinctive feature of a ripping chain is its Filing Angle. Unlike the aggressive 25-30 degree angle of a crosscut chain, ripping chain teeth are typically filed at a much shallower angle, often between 0 and 10 degrees. Some specialized ripping chains even feature a slight reverse angle, sometimes referred to as a “grinder” or “planer” tooth. This acute angle allows the tooth to slice or shave wood fibers cleanly rather than tearing them. The result is a fine, continuous shaving and a much smoother cut surface, significantly reducing the amount of post-processing required.
Depth Gauge (Raker) Setting
The depth gauge, or raker, controls how deep each tooth cuts into the wood. For ripping chains, the depth gauges are often set slightly lower than on crosscut chains. This allows the teeth to take a finer “bite,” which is crucial for achieving a smooth finish and preventing the saw from bogging down under continuous load during long cuts. While standard chains might have rakers set at .025″ to .030″, ripping chains might be closer to .020″ to .025″, especially for hardwoods.
Full-Skip and Semi-Skip Configurations
Ripping chains often come in full-skip or semi-skip configurations, which refer to the spacing of the cutting teeth along the chain. These designs are particularly beneficial for milling as they reduce friction and improve chip clearance over longer bar lengths:
- Full-Skip Chains: These chains have every third drive link missing a cutting tooth, meaning there are larger gaps (gullets) between the active cutters. This design dramatically reduces the number of teeth engaging the wood at any given time, leading to less friction and allowing for faster chip evacuation. Full-skip chains are ideal for very long bars (28 inches and up) and powerful chainsaws (70cc+) used in heavy-duty milling applications, especially in softwoods. They prioritize speed and efficiency over ultimate smoothness.
- Semi-Skip Chains: With every other drive link missing a cutting tooth, semi-skip chains offer a balance between cutting speed and the number of active cutters. They provide good chip clearance while maintaining more contact points with the wood compared to full-skip. This makes them a versatile choice for a range of bar lengths and chainsaw powers, often preferred when a balance of speed and a slightly smoother finish is desired, or for saws with moderate power (50-70cc).
Beyond these configurations, it’s crucial to match the chain’s pitch and gauge to your chainsaw’s bar. The pitch is the distance between three rivets divided by two (e.g., .325″, 3/8″ LP, 3/8″, .404″), and the gauge is the thickness of the drive links that fit into the bar groove (e.g., .050″, .058″, .063″). Incorrect pitch or gauge can lead to severe damage to your saw, bar, or even cause dangerous incidents.
When and How to Use a Ripping Chain Safely and Effectively
A ripping chain is a specialized tool that performs best in specific scenarios and requires particular techniques for both effectiveness and safety. Don’t just slap one on and start cutting; preparation and understanding are key.
Ideal Applications for Ripping Chains
The primary use for a ripping chain is, without a doubt, milling logs into lumber. This includes:
- Chainsaw Milling: Using an Alaskan mill or similar guide system to cut logs into dimensional lumber (planks, beams, slabs). This is the most common application, transforming fallen trees into valuable building materials or unique furniture pieces.
- Resawing Large Timbers: Reducing the size of oversized timbers or splitting logs lengthwise for specific projects.
- Creating Specialty Wood: Producing live-edge slabs for tables, mantelpieces, or unique architectural elements where a smooth, consistent longitudinal cut is essential.
It’s important to remember that a ripping chain is NOT for crosscutting. Using it to cut across the grain will be slow, inefficient, and likely damage the chain due to the teeth’s blunt angle for that type of cut.
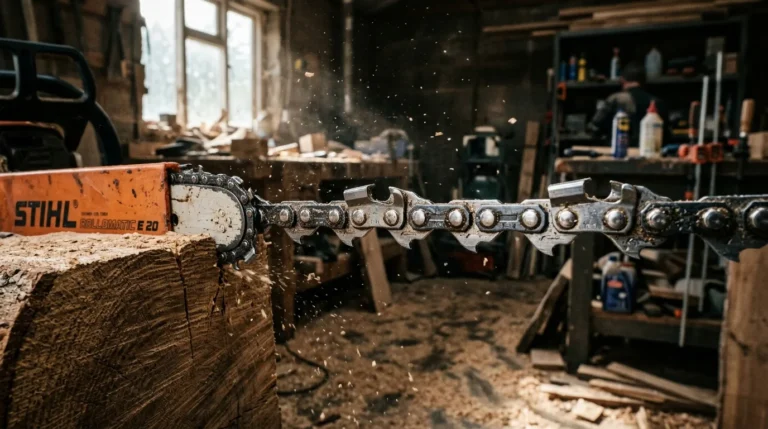
Matching Your Chainsaw to the Task
Milling with a ripping chain places a significant and continuous load on your chainsaw. Therefore, the power of your saw is a critical factor. For serious milling, especially with longer bars (24 inches and up) and hardwoods, a professional-grade chainsaw with an engine displacement of at least 60cc is highly recommended. For production milling or very large logs (36 inches+), saws in the 80cc to 120cc range are preferred. A smaller, homeowner-grade saw (under 50cc) will quickly overheat and bog down, potentially leading to premature wear or damage.
The length of your guide bar also plays a crucial role. Longer bars mean more friction and require more power. Ensure your chainsaw’s oil pump is robust and provides ample lubrication to the bar and chain, especially when making deep, continuous cuts. Many professional milling setups involve auxiliary oilers to prevent overheating of the bar and chain.
Safe and Effective Milling Techniques
Milling is hard work and carries inherent risks. Adhere strictly to these safety guidelines and techniques:
- Personal Protective Equipment (PPE): This is non-negotiable. Always wear a helmet with face shield and hearing protection, chainsaw chaps or pants, sturdy work boots, and gloves. Milling generates a lot of fine sawdust, so a respirator is also highly recommended.
- Secure the Log: Before any cut, ensure the log is stable and securely elevated off the ground. It must not roll, shift, or pinch the bar during cutting. Wedges, cribbing, and straps are your friends here.
- Use a Guide System: Freehand ripping is incredibly dangerous and will result in wavy, inconsistent lumber. An Alaskan mill attachment or a sturdy rail system (e.g., a straight 2×4 clamped to the log) is absolutely essential for straight, accurate cuts.
- Maintain a Consistent Feed Rate: Let the saw do the work. Apply steady, consistent pressure, allowing the chain to shave through the wood. Forcing the saw will bog it down, cause overheating, and produce a poor cut. Adjust your feed rate based on the wood density and your saw’s power.
- Check Chain Tension Frequently: Long, hot cuts can cause the chain to stretch. A loose chain can derail, causing damage or injury. Stop periodically to check and adjust tension.
- Be Aware of Kickback: While ripping chains are designed to reduce kickback risk in their intended use, chainsaws are still prone to kickback if the nose of the bar contacts the wood or another object unexpectedly. Maintain a firm grip and proper stance.
For example, when milling a 20-foot long, 24-inch diameter Douglas fir log into 2x8s using a 36-inch bar and an 88cc chainsaw, I always start by securing the log on stable cribbing. I then attach an Alaskan mill and a sturdy aluminum guide rail along the top of the log. I make my first cut, often called the “reference cut,” very slowly and deliberately to create a flat surface. This initial cut dictates the straightness of all subsequent cuts, so patience is paramount.
Maintenance, Sharpening, and Longevity of Your Ripping Chain
To get the most out of your ripping chain and ensure its longevity, proper maintenance and precise sharpening are paramount. A dull ripping chain is not only inefficient but can also put undue stress on your chainsaw and lead to an inferior finish.
Routine Cleaning and Lubrication
After every milling session, thoroughly clean your chain. Sawdust, especially when mixed with resinous wood sap and bar oil, can clog the chain, bar groove, and sprocket. Use a brush and a solvent (like kerosene or a specialized chain cleaner) to remove all debris. Ensure your chainsaw’s oiling system is functioning optimally, providing a steady stream of bar oil to the chain. With the increased friction and heat generated during milling, good lubrication is crucial for both the chain and the bar.
The Art of Sharpening a Ripping Chain
Sharpening a ripping chain is distinct from sharpening a crosscut chain, primarily due to the unique Filing Angle. This is where many DIY users make mistakes, turning a specialized chain back into an inefficient crosscutter. You’ll need:
- A round file of the correct size for your chain’s pitch (e.g., 5/32″ for .325″ pitch, 7/32″ for 3/8″ pitch).
- A flat file for dressing depth gauges.
- A depth gauge tool.
- A filing guide that allows for low angles, or a good eye and steady hand.
The key difference is the Filing Angle. Aim for a 0 to 10-degree top plate Filing Angle. This very shallow angle is what creates the smooth shaving action. You might need a specialized sharpening guide designed for ripping chains, or a standard guide that can be adjusted to such a low angle. Sharpen each tooth consistently, applying even pressure and an equal number of strokes. After filing the cutters, use your depth gauge tool and flat file to check and lower the rakers. Remember, a slightly lower raker setting (.020″-.025″) helps achieve that smooth, planar cut characteristic of ripping chains.
Due to the continuous, heavy-duty nature of milling, ripping chains tend to dull faster than crosscut chains. It’s advisable to sharpen your ripping chain more frequently—often after every few cuts, or even mid-cut on very long or hard timber—to maintain peak performance and reduce strain on your saw.
Bar Maintenance for Ripping
The guide bar also takes a beating during milling. Regularly clean the bar groove to ensure smooth chain travel. Flip your bar periodically to ensure even wear on both sides. Check for burrs along the bar rails, which can be filed down with a flat file. Lubricate the sprocket nose (if your bar has one) regularly to reduce friction and extend its life.
Choosing the Right Ripping Chain for Your Project
Selecting the correct ripping chain is crucial for both performance and safety. It’s not a one-size-fits-all situation; several factors must be considered to ensure compatibility and optimal results.
Compatibility with Your Chainsaw
First and foremost, your ripping chain must be compatible with your chainsaw’s bar and sprocket. This means matching the exact:
- Pitch: The distance between three rivets divided by two. Common pitches include .325″, 3/8″ Low Profile, 3/8″, and .404″.
- Gauge: The thickness of the drive links, which must fit snugly into your bar’s groove. Common gauges are .050″, .058″, and .063″.
- Drive Link Count: This determines the overall length of the chain. Count the drive links on your current chain or check your chainsaw’s manual.
These specifications are often stamped on your guide bar or found in your chainsaw’s owner’s manual. Always double-check these details before purchasing a new chain.
Consider Your Wood Type and Project Goals
The type of wood you’ll be cutting and the desired outcome of your project will influence your choice between full-skip and semi-skip chains:
- Softwoods (Pine, Cedar, Fir): These are generally easier to cut. A full-skip ripping chain can be highly efficient here, offering maximum speed due to less friction and excellent chip clearance.
- Hardwoods (Oak, Maple, Walnut): These dense woods demand more power and patience. While full-skip can still be used to reduce friction, a semi-skip chain might provide a slightly smoother cut with less vibration on less powerful saws, albeit potentially slower. Hardwoods will also dull your chain more rapidly, necessitating more frequent sharpening.
- Finish Quality vs. Speed: If a super-smooth, almost planed finish is your top priority, a semi-skip chain might offer a slight edge due to more frequent tooth engagement. However, for sheer volume and speed in heavy milling, especially with powerful saws and long bars, full-skip often dominates.
For example, if you’re milling large quantities of rough-sawn pine for framing, a full-skip chain on a powerful saw with a 36-inch bar would be ideal for speed. But if you’re meticulously cutting walnut slabs for furniture, a semi-skip chain on a slightly shorter bar might give you a finer surface finish, though it will take longer.
Chainsaw Power and Bar Length
As previously discussed, higher displacement chainsaws (60cc+) are best suited for ripping. If you have a smaller saw, consider shorter bar lengths (e.g., 20-24 inches) to minimize the load. Pushing a small saw with a long bar and ripping chain will quickly lead to frustration and potential damage.
Here’s a quick comparison of standard crosscut vs. ripping chains:
| Feature | Standard Crosscut Chain | Ripping Chain |
|---|---|---|
| Primary Cut Direction | Across the wood grain | Along the wood grain (longitudinal) |
| Typical Tooth Angle | 25-30 degrees | 0-10 degrees (or slight reverse) |
| Chip Formation | Short, broken chips (tears fibers) | Long, continuous shavings (slices fibers) |
| Finish Quality (for ripping) | Rough, splintered | Smooth, planar-like |
| Efficiency for Ripping | Very poor, high effort, slow | High, low effort, faster |
| Main Application | Felling, bucking, limbing | Milling logs into lumber, resawing |
Investing in a quality ripping chain, such as an Oregon 72RD or specific ripping chains from Stihl or Husqvarna dealers, is a wise decision if you plan on any serious lumber milling. It will save you time, effort, and result in superior finished products, truly unlocking the potential of your chainsaw as a versatile woodworking tool.