Quick answer: To sharpen a chainsaw chain, lock the bar in a vice, select the correct round file size for your chain pitch (e.g., 7/32" for standard 3/8" pitch or 5/32" for 3/8" Low Profile), and push the file across each cutter at a precise 30-degree angle using forward-only strokes. Finish by lowering the depth gauges (rakers) with a flat file and depth gauge tool to maintain a consistent 0.025-inch clearance.
Understanding Chain Anatomy and Tooth Geometry
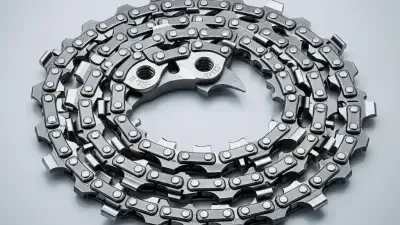
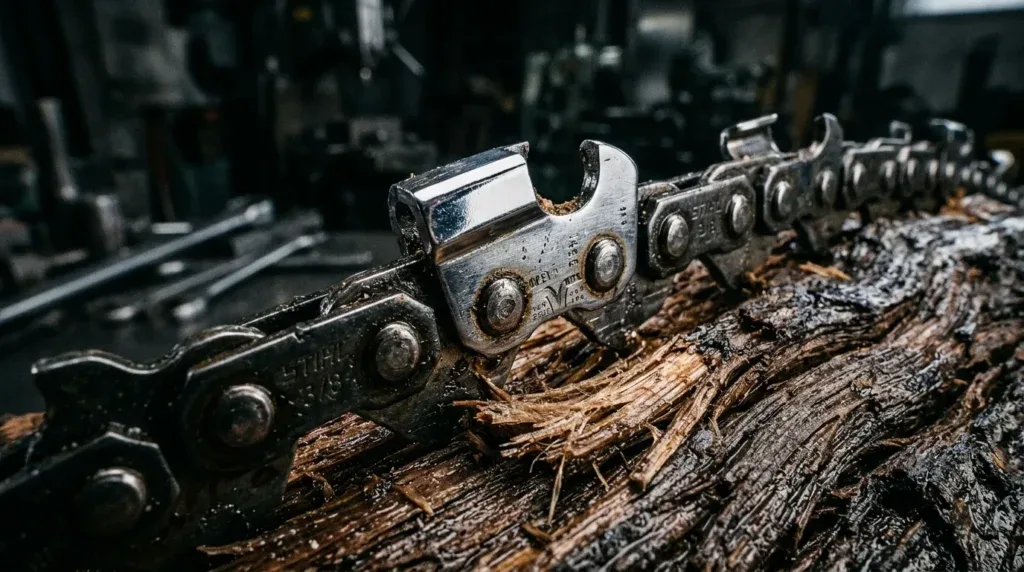
Before touching a tool to metal, you must understand how a saw chain actually severs wood fibers. A modern cutter operates like a tiny wood plane. The curved working corner cuts the wood grain sideways, while the top plate shaves out the chip. Positioned directly in front of each cutter is a rounded metal protrusion called the depth gauge, or raker. The height difference between the top plate cutting edge and the depth gauge determines how deep the cutter bites into the timber with every rotation.
Chains come in several pitch and gauge configurations that dictate filing requirements. Pitch is the distance between any three consecutive rivets divided by two, commonly measured as 3/8" Low Profile (found on 16-inch homeowner saws like the Stihl MS 170 or Husqvarna 120 Mark II), .325" (common on 18-inch to 20-inch mid-range saws around 45cc–55cc), standard 3/8" (found on 50cc+ professional saws), and .404" (used on heavy bucking and logging setups). Match your file diameter precisely to these specifications to preserve the tooth's hook angle.
Tooth profile also determines how you approach the bench. Full-chisel teeth feature a sharp 90-degree square corner that cuts extraordinarily fast in clean hardwood, but dulls rapidly when contacting dirt or frozen bark. Semi-chisel teeth feature a rounded corner radius. While slightly slower in green oak, semi-chisel stays sharp significantly longer in harsh conditions and is far more forgiving during hand-filing for DIY landowners.
Essential Tools Required for Chain Sharpening
Attempting to sharpen without dedicated filing guides usually results in uneven angles, inconsistent tooth lengths, and poor cutting performance. Assembling a proper field maintenance kit guarantees repeatable, factory-level results every time you touch up the teeth.
- Round Files: Match the diameter to your pitch: 5/32" (4.0mm) for 3/8" LP; 11/64" (4.5mm) for select Stihl Picco chains; 3/16" (4.8mm) for .325" pitch; 7/32" (5.5mm) for standard 3/8" pitch.
- File Guide/Holder: Holds the round file at the exact height so 1/10th to 1/5th of its diameter extends above the top plate. Marking lines painted on the frame visually lock in your 30° or 25° sweep angle.
- Flat File & Depth Gauge Tool: Used together to inspect and file down the rakers every 3 to 4 sharpening sessions.
- Bench Vice or Stump Vice: Secures the guide bar to eliminate movement, yielding consistent bevels.
- Personal Protective Equipment (PPE): Heavy leather work gloves prevent slice injuries from sharp cutters, while eye protection shields against flying steel filings.
Pro tip: Always check chain tension before filing. A loose chain swivels on the guide bar rails under file pressure, ruining your cutting angle and creating rounded, blunt edges. Tighten the chain until the drive links sit flush against the bottom rail before locking the bar in your vice, then readjust to your normal operational tension (50:1 mix fuel top-off routine) when finished.
Chainsaw File Selection & Specifications
Using the incorrect file size alters the tooth's side-plate hook angle. A file that is too small undercuts the tooth, creating a thin, fragile edge that dulls in seconds. A file that is too large fails to create sufficient hook, forcing you to lean heavily on the saw to make a cut.
| Chain Pitch | Typical Bar Length | Engine Size Range | Round File Size | Standard Top-Plate Angle | Raker Clearance |
|---|---|---|---|---|---|
| 3/8" Low Profile (LP) | 12" - 16" | 30cc - 40cc | 5/32" (4.0 mm) | 30° | 0.025" (0.65 mm) |
| .325" Pitch | 16" - 20" | 40cc - 55cc | 3/16" (4.8 mm) | 30° (or 25° for hard wood) | 0.025" (0.65 mm) |
| 3/8" Standard Pitch | 18" - 24"+ | 50cc - 90cc+ | 7/32" (5.5 mm) | 30° | 0.025" (0.65 mm) |
| .404" Pitch | 24" - 48"+ | 70cc - 120cc | 7/32" or 11/64" special | 25° - 30° | 0.030" (0.75 mm) |
How to Sharpen a Chainsaw Chain: Step-by-Step Instructions
Proper file motion relies on consistent pressure and precise angle tracking across every tooth. Follow this proven sequence to rebuild factory-sharp edges on your cutters.
Step 1: Secure the Saw and Clean the Chain
Set your chainsaw on a stable workbench or lock the guide bar securely inside a stump vice outdoors. Engage the chain brake to immobilize the chain while sharpening a single cutter. Use a stiff wire brush and a degreaser solvent to scrape pitch, resin, and soil from the teeth. Inspect the chain for cracked drive links, thrown rivets, or broken cutters; replace the entire chain immediately if major structural cracking is evident.
Step 2: Identify the Shortest Cutter
Examine all teeth to locate the cutter with the most severe damage or wear. Sharpen this shortest master tooth first. Count the exact number of file strokes required to clean up its cutting edge, then apply that exact same stroke count to every remaining tooth on the chain. Keeping all cutters the same length ensures the saw cuts straight without drifting or binding inside large logs.
Step 3: File the First Direction Cutters
Identify the angle mark etched on the top plate of the tooth—usually 30 degrees (or 25 degrees on specialized hardwood chains). Mount your round file in its filing holder. Place the file inside the gullet, holding it perpendicular to the side of the bar, matching the angle line on the holder parallel to the guide bar length.
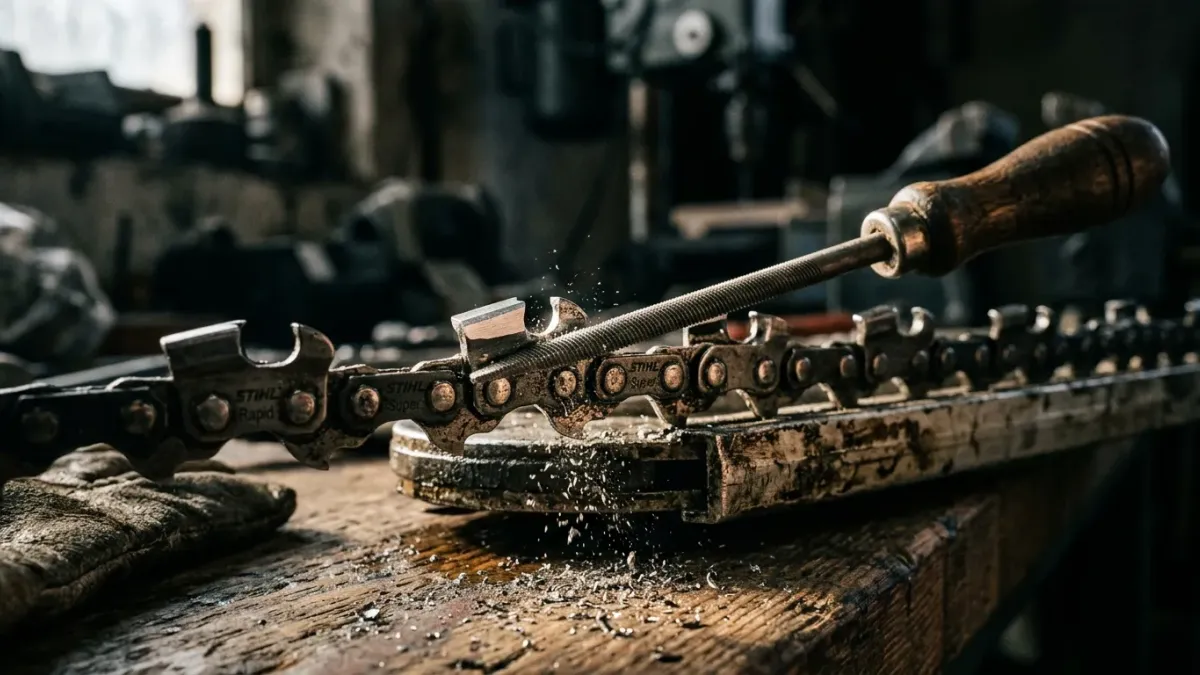
Push the file forward smoothly using firm pressure directed toward the front face and upward against the top plate. Do not apply pressure on the pull stroke; steel cutting files work exclusively in the forward direction. Dragging the file backward dulls the tool's teeth. Complete 3 to 6 forward strokes until the top plate edge glistens and shows no dull glints under light. Skip every alternate cutter and move down the line until all teeth pointing in that direction are filed.
Step 4: Flip the Saw and File the Opposite Cutters
Release the chain brake, pull the chain forward to access new teeth, and re-engage the brake. Once all right-hand or left-hand cutters are finished, rotate the saw 180 degrees (or switch your body stance to the opposite side of the vice). Repeat the identical filing angle and stroke count across all remaining cutters pointing in the opposite direction.
Step 5: Check and Adjust Depth Gauges (Rakers)
After filing the cutters three or four times, the top plate height drops relative to the depth gauge in front of it. Place a flat depth gauge tool over the chain so it rests on top of two adjacent cutters with the raker protruding through the slot.
If the metal raker sits flush or higher than the tool surface, take a flat file and stroke it horizontally until the top of the raker is level with the gauge tool. Once filed flat, use the file to lightly round the front edge of the raker so it retains its original smooth, aerodynamic profile. Leaving rakers square causes harsh vibration and chattering in the wood.
Electric Sharpeners vs. Hand Filing: Which Should You Use?
When choosing between hand filing and benchtop electric grinders, consider how often you cut wood and where maintenance takes place. Hand filing removes a minimal amount of steel, maximizing the overall lifespan of the chain. It requires no electricity, taking only 5 to 10 minutes in the woods using a field kit. However, hand filing demands practice to maintain repeatable angles manually.
Bench-mounted electric grinders excel at restoring heavily damaged chains that have struck rocks, wire, or soil. They grind every cutter to an exact angle and length in minutes. The downside is that high-speed abrasive wheels can overheat the metal if used aggressively, drawing the temper out of the steel and leaving it soft. For most homeowners and landowners, hand filing with a guided holder remains the best option for daily touch-ups, keeping an electric sharpener reserved for major chain repairs back at the workshop.
Maintaining Safe Operation After Sharpening
A razor-sharp edge requires proper powerhead maintenance to deliver clean, efficient cuts. Always check your chain tension before cutting. A freshly sharpened chain running on a dry bar generates rapid heat, causing the drive links to stretch. Ensure your auto-oiler is discharging oil properly: rev the engine over a fresh stump or cardboard box and verify that a fine stripe of bar and chain oil slings off the tip of the nose sprocket.
Prioritize personal safety whenever testing freshly sharpened equipment. Always wear chainsaw chaps featuring high-tenacity cut-retardant fibers, high-top steel-toe boots, heavy leather gloves, and a logging helmet with an integrated face shield and ear muffs. Keep your fuel mixed accurately—typically 50:1 fresh unleaded gasoline mixed with high-performance 2-stroke JASO-FD rated oil—to ensure your engine maintains peak power output across long cutting sessions.
Clear Guidance for Every Chainsaw User
If you are a homeowner operating a 16-inch 35cc to 40cc chainsaw for seasonal firewood processing, pick up a basic file guide kit matched to a 5/32" round file and practice filing your 3/8" Low Profile chain after every two tanks of fuel. Landowners and timber workers using 50cc to 70cc saws running .325" or standard 3/8" chain will benefit from keeping both a 3/16" or 7/32" hand guide kit in the field and a dedicated benchtop stump vice at the workshop. Regular 5-minute touch-ups keep your cutting tools reliable and extend the operating life of your engine and guide bar.
Frequently Asked Questions
How often should I sharpen my chainsaw chain?
Touch up your chain every time you refill your fuel tank, or immediately if you notice the saw producing fine sawdust instead of large wood chips. If the bar contacts dirt, rocks, or metal fencing, sharpen the cutters right away regardless of runtime.
What angle should I file my chainsaw chain?
Most standard full-chisel and semi-chisel chains require a 30-degree top-plate filing angle. Certain specialized chains or ripping chains designed for milling lumber use flatter angles ranging between 10 and 25 degrees. Always check the angle stamped on your chain package or manufacturer specification sheet.
Why does my chainsaw pull to one side after sharpening?
Pulling to one side occurs when the cutters on one side of the chain are shorter or filed at a sharper angle than those on the opposite side. Measure cutter top plates with a caliper or pitch gauge and file down the longer teeth until all cutters are uniform in length and geometry across both sides.
Can I sharpen a chainsaw chain with a Dremel tool?
Yes, rotary tools fitted with high-speed diamond or aluminum oxide grinding stones matched to your chain's file diameter work well. Maintain light pressure and keep the tool moving to prevent blueing or overheating the steel cutters, which weakens the metal temper.
Sources
- STIHL USA Technical Maintenance & Sharpening Guides
- Oregon Tool Maintenance & Chain Filing Specifications
- OSHA Standard 1910.266 - Logging Operations Safety Practices
- ANSI B175.1 Gasoline Powered Chain Saws Safety Requirements