Why Mini Chainsaw Chains Keep Slipping (and How to Fix It)
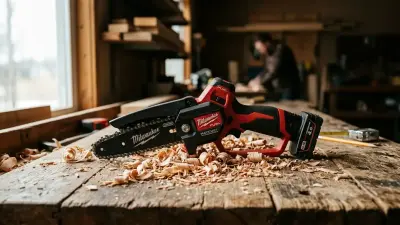
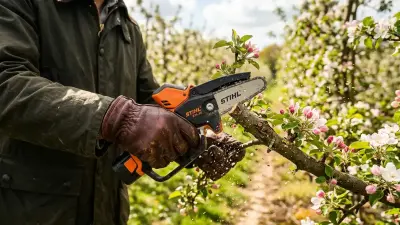
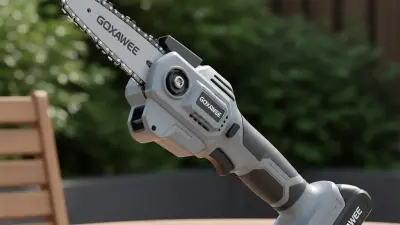
If you own a 4-inch or 6-inch mini chainsaw like a Milwaukee M12 FUEL Hatchback, Stihl GTA 26, or one of the many 20V battery-powered pruning saws on Amazon, you have likely dealt with a sagging or thrown chain. Because mini chainsaws run small 1/4-inch pitch or 3/8-inch low-profile chains at high RPMs without the heavy-duty tensioning systems found on full-sized gas saws, thermal expansion causes them to stretch rapidly during use.
A loose chain is the single most common cause of kickback, binding, and derailment on cordless pruning saws. When a chain derailed at speed hits your hand or wood material, it damages the drive links and poses a real injury risk. Fixing this issue takes less than two minutes once you master the correct procedure.
The "Rule of Thumb" for Mini Chainsaw Chain Tension
Before grabbing your tools, you need to know what ideal chain tension actually looks and feels like on a small guide bar.
- Too Loose: The drive links (the small metal teeth that ride inside the bar groove) hang completely below the bottom rail of the guide bar. If you see daylight between the drive links and the bar, do not pull the trigger.
- Too Tight: The chain binds against the bar. If you try to pull the chain around the bar by hand (with the battery removed!), it feels stiff or won't rotate smoothly. Over-tightening burns out small electric motors and wears down the bar tip quickly.
- Just Right: When you pull downward on the chain in the center of the bar, the tops of the drive links should just stay snapped inside the bar groove, snaps back instantly when released, and rotates freely by hand.
Step-by-Step: How to Tension Your Mini Chainsaw Chain
Step 1: Remove the Battery
Never adjust, touch, or clean a mini chainsaw chain while the power source is attached. Remove the lithium-ion battery pack completely before touching the bar side cover or tension screw.
Step 2: Slightly Loosen the Bar Retaining Nut or Knob
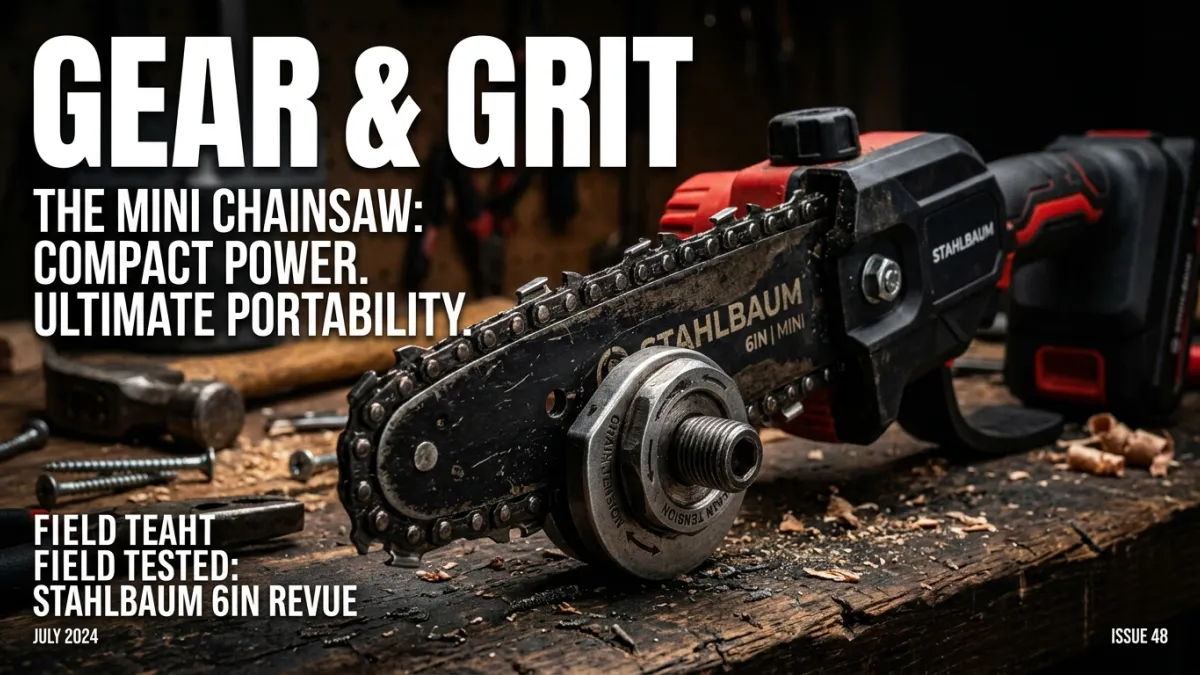
Locate the side cover nut (usually 8mm or 10mm) or the toolless lock knob. Turn it counterclockwise 1 to 2 full turns. Do not remove the nut entirely—you only want to relieve pressure so the guide bar can slide forward and backward.
Step 3: Lift the Bar Tip (Crucial Step)
Grasp the nose of the guide bar and pull it upward slightly. Gravity and cutting forces naturally push the bar nose up during operation; if you tighten the tension screw while the nose is pointing down, the chain will instantly loosen the moment you make your first cut.
Step 4: Adjust the Tension Screw
While holding the bar nose up, turn the tension adjustment screw clockwise with a screwdriver or the included multi-tool.
- Turn the screw until the slack under the bottom rail disappears.
- Pull the chain down at the midpoint of the bar: you want roughly 1/16 to 1/8 inch (1.5 to 3 mm) of yield, with the drive link tips remaining inside the groove.
Step 5: Tighten the Bar Nut While Holding the Nose Up
Keep lifting the bar tip with one hand while securely tightening the side cover nut or locking knob with your other hand. Once fully torqued, release the bar nose.
Step 6: Test Chain Spin Manually
With gloves on and the battery still disconnected, pull the chain along the top of the bar. It should glide smoothly without binding. Snap the battery back in, run the saw at full throttle for 5 seconds off-cut, re-check the tension, and you are ready to work.
Tensioning System Comparison: Toolless vs. Screwdriver Adjustment
| System Type | Common Models | Pros | Cons |
|---|---|---|---|
3 Pro Tips to Prevent Frequent Chain Slippage
1. Warm Up the Chain First: Metal expands when warm. A chain tensioned cold will loosen after 60 seconds of cutting branch wood. Check your tension after your first two or three cuts.
2. Oil the Bar Manual-Style: Most mini chainsaws lack automatic oil pumps. Keep a small squeegee bottle of bar and chain oil handy and apply a few drops to the chain every 10–15 minutes. Friction heat is the primary reason mini chains stretch and slip off.
3. Never Tension a Hot Chain Immediately Before Storage: As a hot, tightly tensioned chain cools down, it contracts. If contracted too tightly on the bar while sitting overnight, it can bend the crankshaft or crack the guide bar rails.
Frequently Asked Questions
How often should I tighten my mini chainsaw chain?
Check chain tension every time you swap or recharge the battery, or immediately if you notice sagging. Brand new chains stretch rapidly during their first 15–30 minutes of use and require more frequent adjustments.
Why does my mini chainsaw chain keep coming off even after I tighten it?
This usually happens if you forgot to hold the bar tip up while tightening the side cover nut, if the side cover lock nut is stripped, or if the drive links are damaged from a previous derailment and no longer sit smoothly inside the bar track.